

Guide to Adding a Different Domain for Each Language in WPML
Add a different domain per language in WPML, go to WPML > Languages, and configure language URL options. Select the “Different domains per language” option and add the domains.
Adding multiple domains for different languages in WPML enhances user experience and improves SEO. Visitors appreciate accessing content in their native language without domain confusion. This configuration helps search engines index each language separately, boosting your site’s visibility. WPML simplifies this process, allowing you to manage multilingual content efficiently.
Ensure each domain is correctly set up in your hosting settings. Proper domain mapping guarantees seamless navigation and better engagement. Follow the guidelines and test each domain to avoid errors. This strategy can significantly impact your site’s international reach and user satisfaction.
Preparation
Before you add a different domain per language in WPML, preparation is key. Ensuring you have the right tools and steps in place can prevent issues and streamline the process. Follow this guide to make sure you’re ready.
Prerequisites
Make sure you have the following prerequisites:
- WordPress installed and running.
- WPML plugin installed and activated.
- Access to your domain registrar’s settings.
These prerequisites are essential for a smooth setup process.
Backup Your Website
It’s important to back up your website before making changes. This ensures you can restore your site if something goes wrong.
- Use a plugin like UpdraftPlus or BackupBuddy.
- Save the backup files to a secure location.
Having a backup will give you peace of mind.
Setting Up Wpml
Setting up WPML is essential for a multilingual WordPress site. It helps you manage translations efficiently. Follow these steps to add a different domain per language in WPML.
Installing the WPML plugin
First, download the WPML plugin from the official website. Save the downloaded file on your computer.
- Go to your WordPress dashboard.
- Navigate to Plugins > Add New.
- Click on Upload Plugin and choose the downloaded WPML file.
- Click on Install Now and activate the plugin.
Configuring Basic Settings
After installation, configure the basic settings for WPML.
- Go to WPML in your dashboard.
- Click on Languages to set up your site’s languages.
In the language settings, you can:
- Add new languages.
- Set a default language.
- Arrange languages in the language switcher.
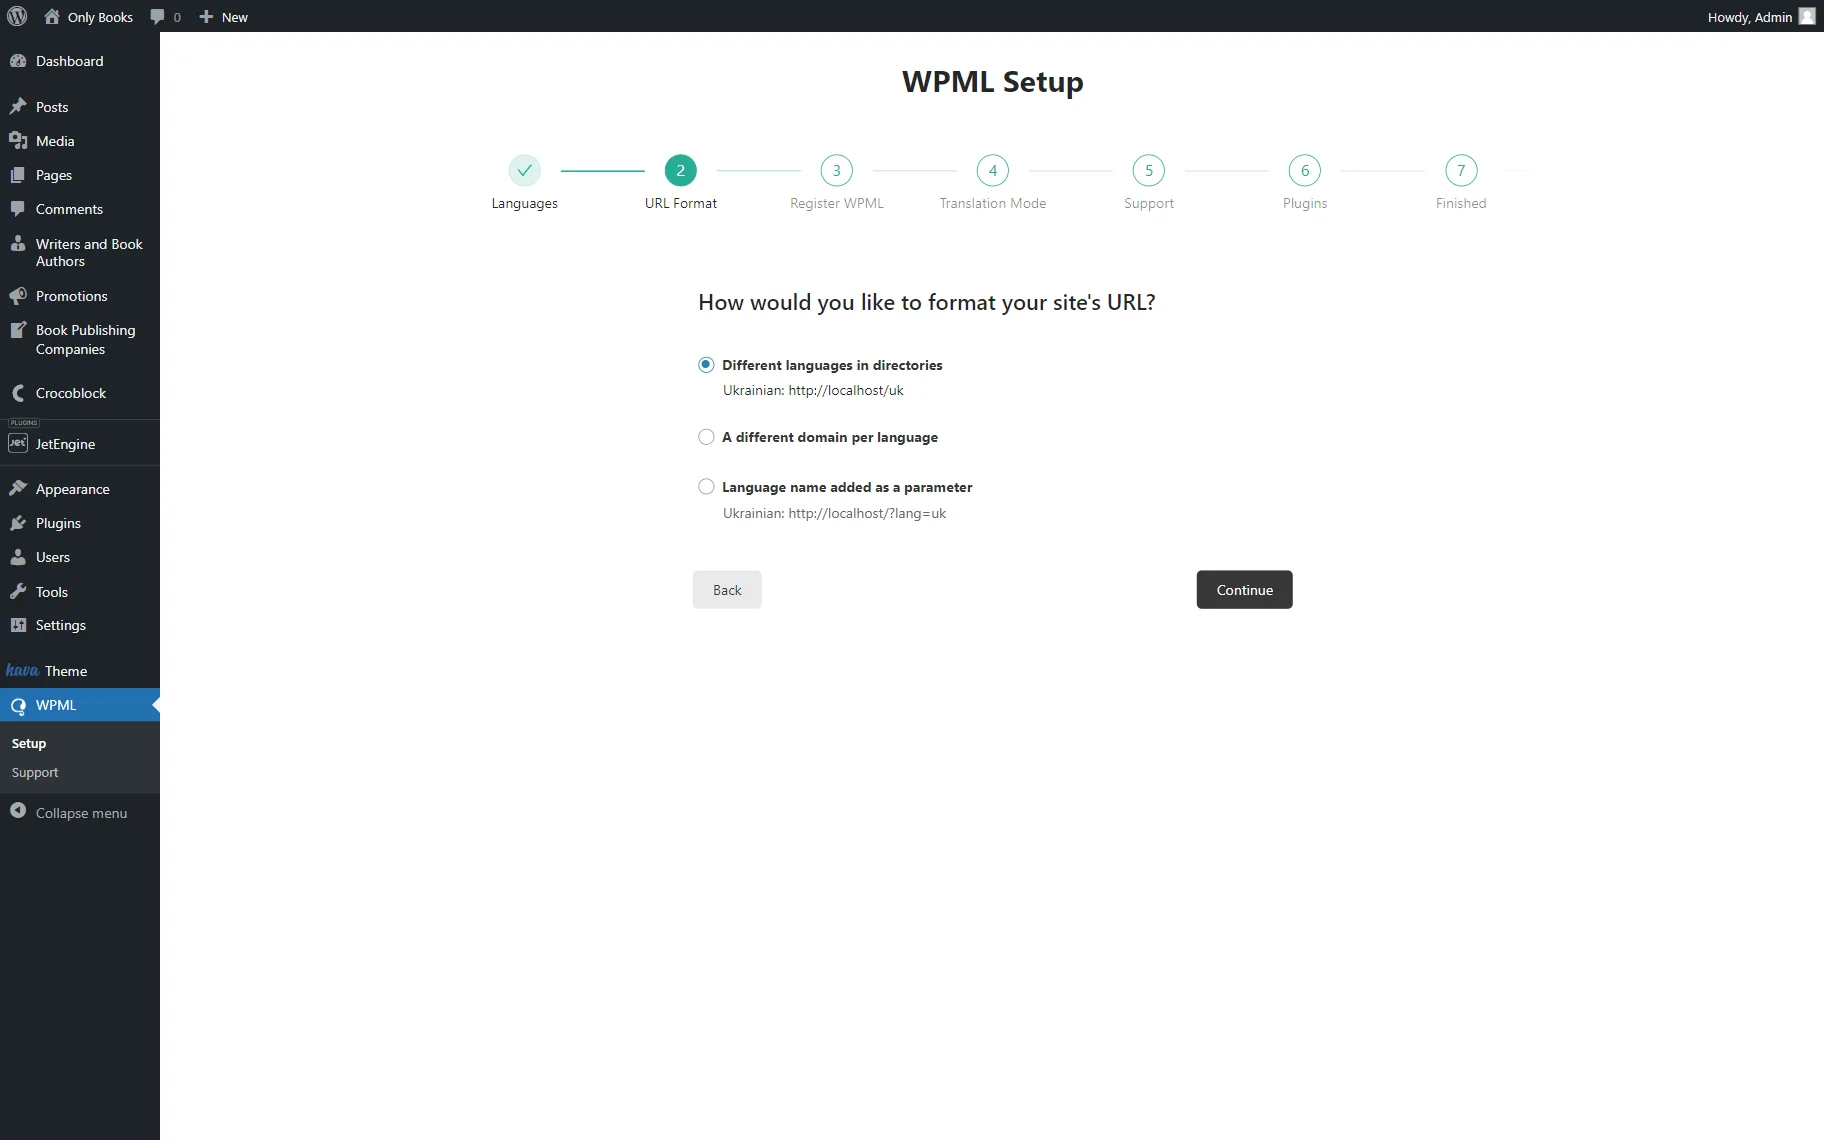
Next, configure how URLs are handled:
- Select different domains per language.
- Enter the domain for each language.
Here is an example table:
| Language | Domain |
|---|---|
| English | example.com |
| Spanish | es.example.com |
| French | fr.example.com |
Save your settings. WPML will automatically update your site with the new domains.
Adding Languages
Adding different domains per language in WPML enhances user experience. This technique allows users to access content in their preferred language seamlessly. Follow these steps to add new languages efficiently.
Language Options
WPML provides a variety of language options. You can choose from many popular languages. This flexibility caters to a global audience.
To access language options:
- Go to the WPML plugin in your WordPress dashboard.
- Select Languages from the menu.
- You’ll see a list of available languages.
Adding New Languages
Adding new languages is straightforward with WPML. Follow these steps:
- Navigate to WPML > Languages.
- Click on Add / Remove languages.
- Select the languages you need from the list.
- Click Save to confirm your choices.
After saving, WPML will configure these languages. Your site now supports multiple languages. Each language can be assigned its own domain.
To assign domains:
- Go to WPML > Languages.
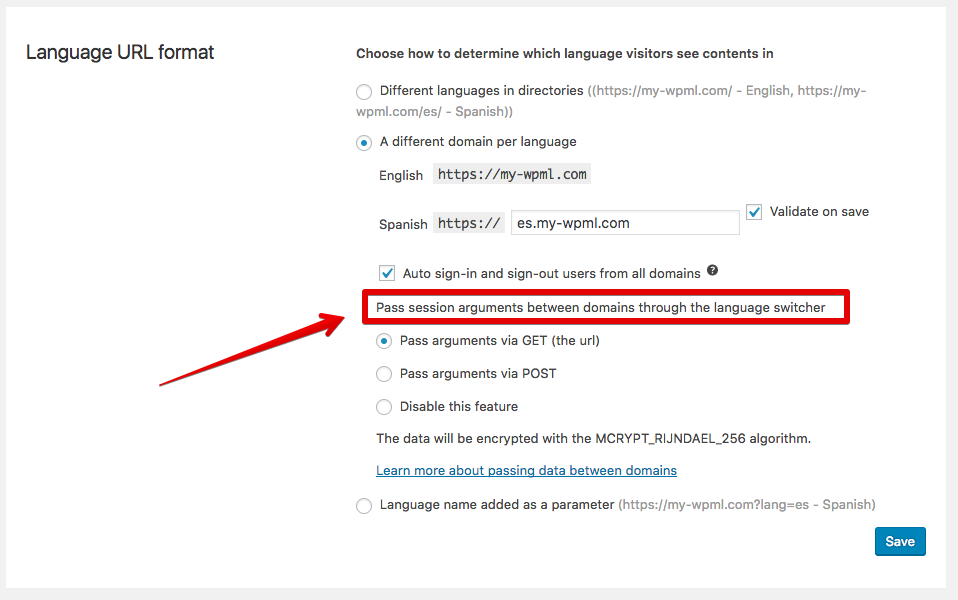
- Scroll to Language URL format.
- Select A different domain per language.
- Enter the domain for each language.
- Click Save.
Now, each language on your site has a unique domain. This improves SEO and user experience.
Credit: crocoblock.com
Configuring Domain Per Language
Adding a different domain per language in WPML enhances your site’s SEO. It also provides a better user experience. This guide will help you configure domains for each language step-by-step.
Domain Mapping
Domain mapping is the first step in setting up different domains for each language. Follow these steps:
- Log in to your WordPress dashboard.
- Navigate to WPML > Languages.
- Scroll down to the Language URL format section.
- Select A different domain per language.
- Enter the domain for each language in the provided fields.
Setting Up Dns Records
Next, configure your DNS records to point to the correct server. This ensures visitors reach the right language version of your site.
- Log in to your domain registrar’s control panel.
- Find the DNS settings for each domain.
- Add an A record for each domain, pointing to your server’s IP address.
- Ensure the TTL (Time to Live) value is set appropriately.
Here is an example DNS configuration:
| Domain | Type | Value |
|---|---|---|
| example.com | A | 123.456.789.0 |
| es.example.com | A | 123.456.789.0 |
Check that each domain resolves correctly. Use tools like What’s My DNS for verification.
Linking Domains To Languages
Linking domains to languages in WPML is crucial for a multilingual website. It allows each language to have its unique domain. This improves SEO and user experience. Here’s a guide on how to do it.
Assigning Domains
First, navigate to the WPML settings in your WordPress dashboard. Click on Languages. Scroll down to the Language URL format section. Select the A different domain per language option.
Next, you need to assign domains to each language. You will see a table where you can input the domains. Ensure each domain is correctly associated with its language.
| Language | Domain |
|---|---|
| English | example.com |
| Spanish | example.es |
Save your changes. Make sure your DNS settings are configured to point to your WordPress installation.
Testing Domain Setup
Testing the domain setup is essential. Open a new browser window. Enter the domain for each language.
- Visit the primary domain (e.g., example.com).
- Check if it displays the default language.
- Visit the secondary domain (e.g., example.es).
- Ensure it displays the correct language.
If the languages load correctly, your setup is complete. If not, revisit the WPML settings and DNS configurations. Make sure everything is entered correctly.
Using different domains per language enhances your website’s reach. It also provides a better user experience and improved SEO.
Troubleshooting
Adding a different domain per language in WPML can be tricky. Sometimes, issues arise that need troubleshooting. This section will help you resolve common problems effectively.
Common Issues
Below are some common issues users face:
- Domains not pointing correctly.
- Incorrect language switcher behavior.
- SSL certificate problems.
- DNS settings are not configured properly.
Fixing Domain Errors
To fix domain errors, follow these steps:
- Ensure DNS settings are correct. Verify they point to your server.
- Check domain settings in WPML. Navigate to WPML > Languages.
- Ensure each domain is assigned to the correct language.
If SSL issues arise, make sure:
- Each domain has a valid SSL certificate.
- Update SSL settings in your hosting panel.
Incorrect language switcher behavior can be fixed by:
- Reviewing language switcher settings in WPML > Languages.
- Ensuring each language is linked to the correct domain.
| Issue | Solution |
|---|---|
| Domains not pointing correctly | Verify DNS settings. |
| Incorrect language switcher behavior | Review language switcher settings. |
| SSL certificate problems | Ensure valid SSL certificates for all domains. |
| DNS settings not configured | Update DNS settings. |
Final Steps
After configuring different domains for each language in WPML, it’s crucial to verify everything is set up correctly. This ensures your multilingual site performs optimally and provides a seamless experience for users. Let’s dive into the final steps to complete this process.
Verifying Configuration
Ensure each domain points to the correct language version. Check the settings in WPML and your hosting control panel.
- Navigate to WPML > Languages.
- Verify each language has a corresponding domain.
- Confirm DNS settings for each domain are correctly configured.
Test each domain by visiting them in a browser. Ensure content is displayed in the correct language.
If you encounter issues, double-check your DNS and WPML settings.
Monitoring Performance
Once your domains are set up, monitor the performance of your multilingual site. Use tools like Google Analytics to track user behavior and site performance.
- Set up Google Analytics for each domain.
- Track metrics such as bounce rate and page load time.
- Adjust your site based on performance data.
Regular monitoring helps identify and fix potential issues quickly. This ensures a smooth experience for your users.
Consider setting up alerts for significant performance drops. This helps you respond promptly to any issues.
Credit: wpml.org

Credit: instawp.com
Frequently Asked Questions
How to Make a Website in Two Languages in WordPress?
To create a bilingual website in WordPress, install and activate a multilingual plugin like WPML or Polylang. Configure languages, translate content, and ensure easy navigation for users.
How Do I Add Another Language To Wpml?
Go to WPML settings. Click the “Languages” tab. Select “Add Language. ” Choose the language you want. Save changes.
How Do I Sync Menus Between Languages In Wpml?
To sync menus between languages in WPML, go to WPML > WP Menus Sync. Click the “Sync” button to synchronize.
How Do I Change The Language Of A Wpml Link?
To change the language of a WPML link, go to WPML settings. Edit the link translation under the “String Translation” section. Save changes.
What Is Wpml?
WPML is a popular WordPress plugin for multilingual websites. It helps manage translations and switch languages easily.
How do I add a domain per language?
Go to WPML settings, select ‘Different domains per language’, and configure your domains for each language.
Conclusion
Adding a different domain per language in WPML enhances your site’s user experience. It makes navigation seamless for global visitors. Follow the steps outlined to easily implement this feature. Boost your website’s accessibility and SEO performance by catering to a multilingual audience.
Your global reach will significantly improve.